Adding Solar Power To Your Shed
If you have a backyard shed, adding electricity to the structure via solar instantly expands its potential uses. Depending on the distance from your home to the shed, you having the option of running an underground cable from your house to the building. If the building is a fair distance from the house, that may be expensive and stressful to accomplish. In such circumstances, adding a solar power kit to your shed is an excellent way to generate energy.
Here are three steps to adding solar power to your shed!
1. Understand How Solar Power Systems Work
A home solar kit comprises four main components:
• Panels: These are rectangular devices that absorb particles of light to knock electrons free from atoms, generating a flow of electricity. The number of panels you need depends on the amount of power required for your shed.
• Batteries: Once you’ve captured the energy from the sun, you will need a place to store the excess power. This is where batteries come in. They serve as a reservoir against the times when the sun doesn’t shine.
• Charge controller: Positioned between the power source and the battery, a charge controller protects the battery from overcharging. It regulates the voltage and current coming from solar panels and going into the battery.
• Inverter: All the energy collected from the sun is Direct Current (DC), but home appliances need Alternating Current to work. Thus, the power is routed from the battery to the inverter to convert it to AC.
2. Work Out How Much Power You Require
The next thing to do is to figure out your basic needs. Do you need just a couple of lights for occasional use, or do you plan to run a computer, heating, or other power tools? How many hours a day will you use the gadgets? How many hours of sunlight can you count on? Answering these questions will give you a rough idea of how much power you need and, consequently, the type of solar panels you should invest in.
3. Install And Use Your Solar Power Kit
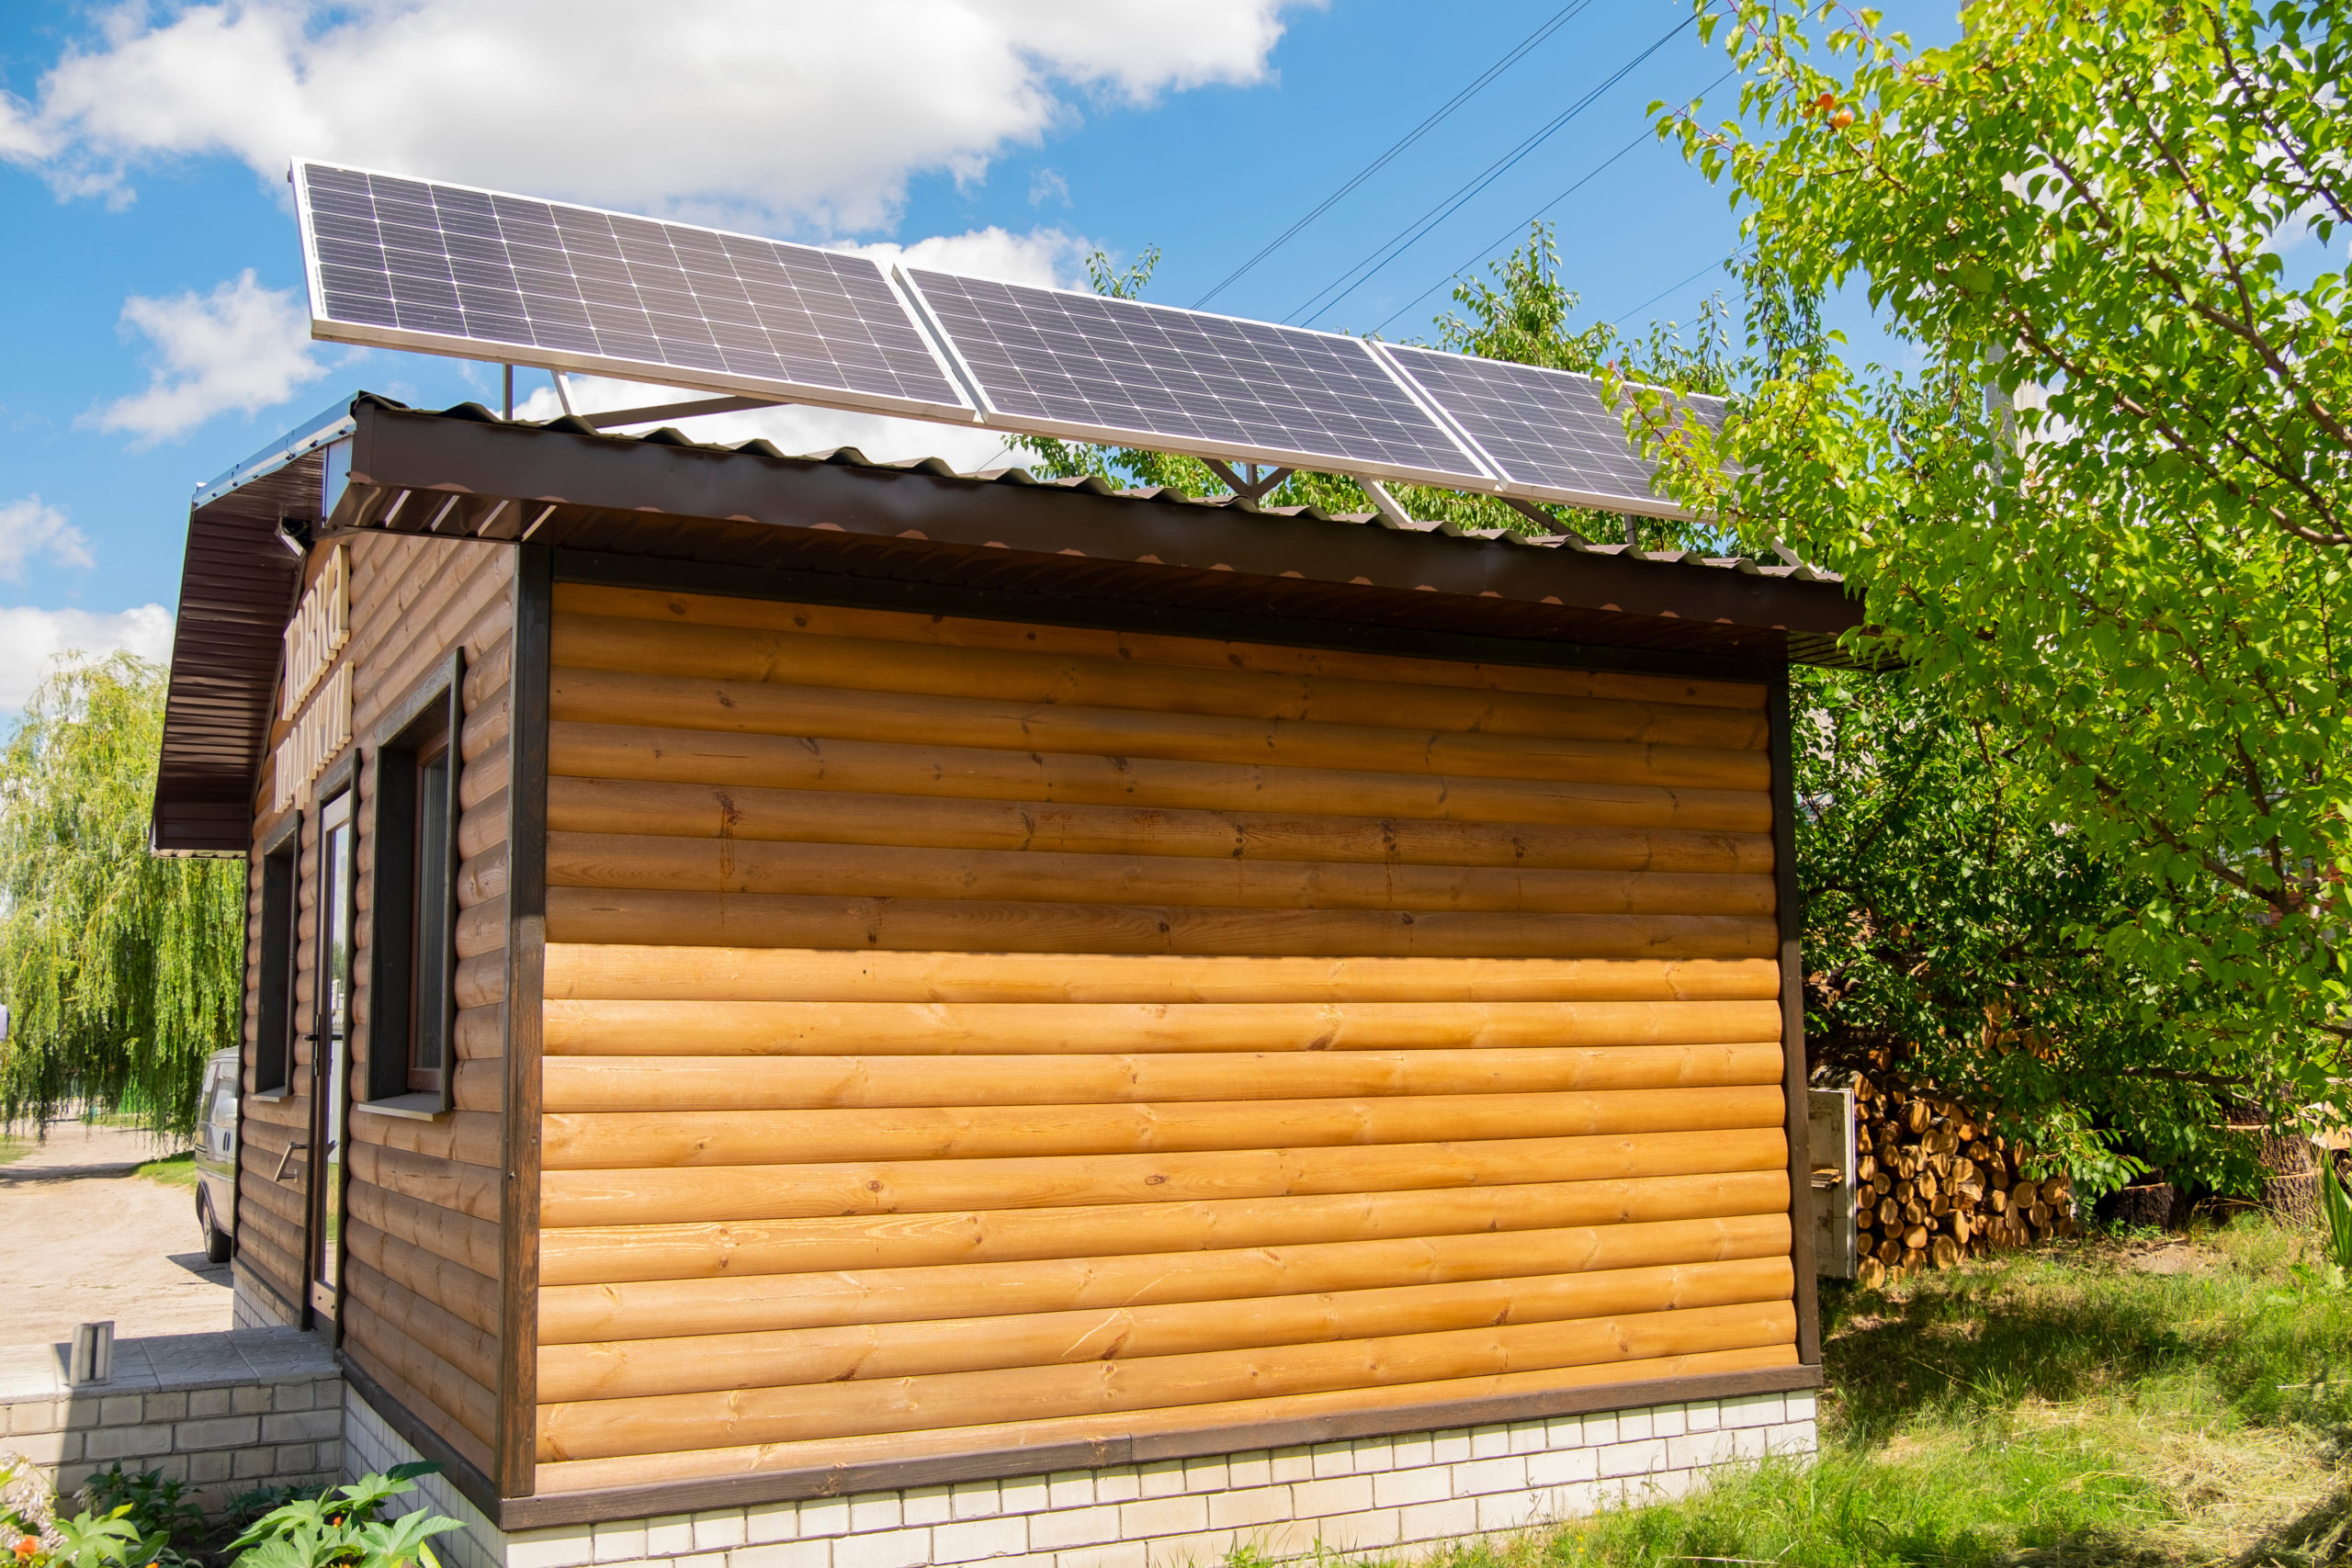
Putting together a solar power kit is quite straightforward. Simply connect the charge controller to the battery using the tray cables. Start by attaching the cable to your battery and then hook the battery to the charge controller one at a time. Next, connect the solar panels to the charger controller using the adaptor cables. The Z brackets are used to attach the solar panels to the roof of your shed. That’s all!
Conclusion
A solar power kit can provide the energy you need for your shed. Solar power kits are affordable and are easy to install while keeping your backyard free of clutter. By following the steps above, you should have no trouble adding a solar power kit to your shed.